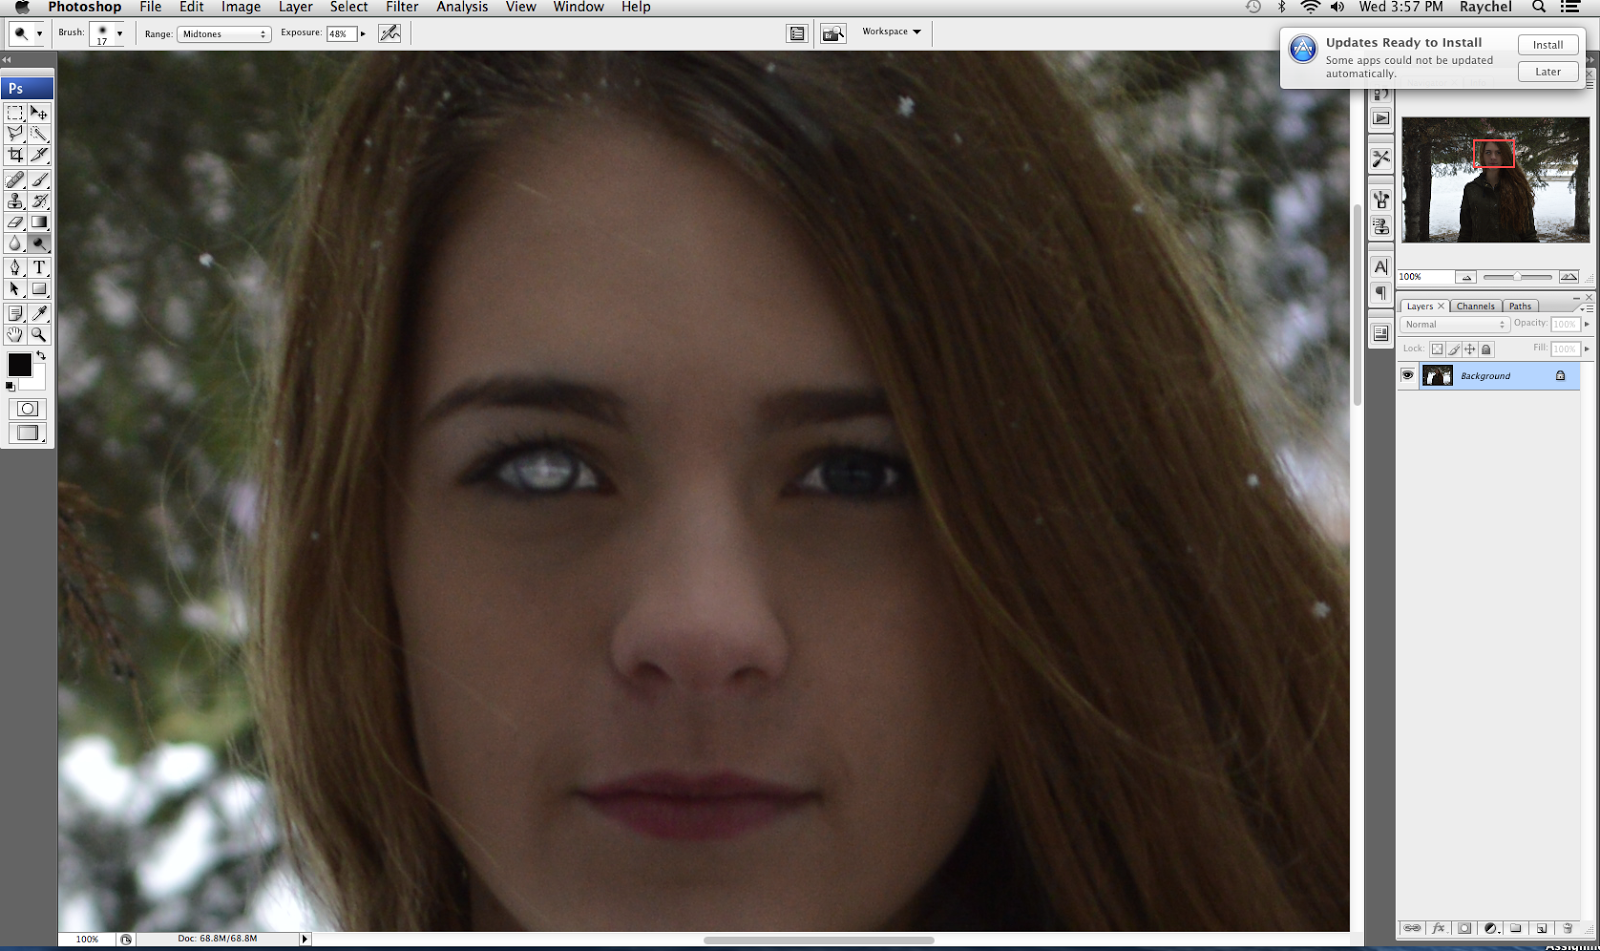
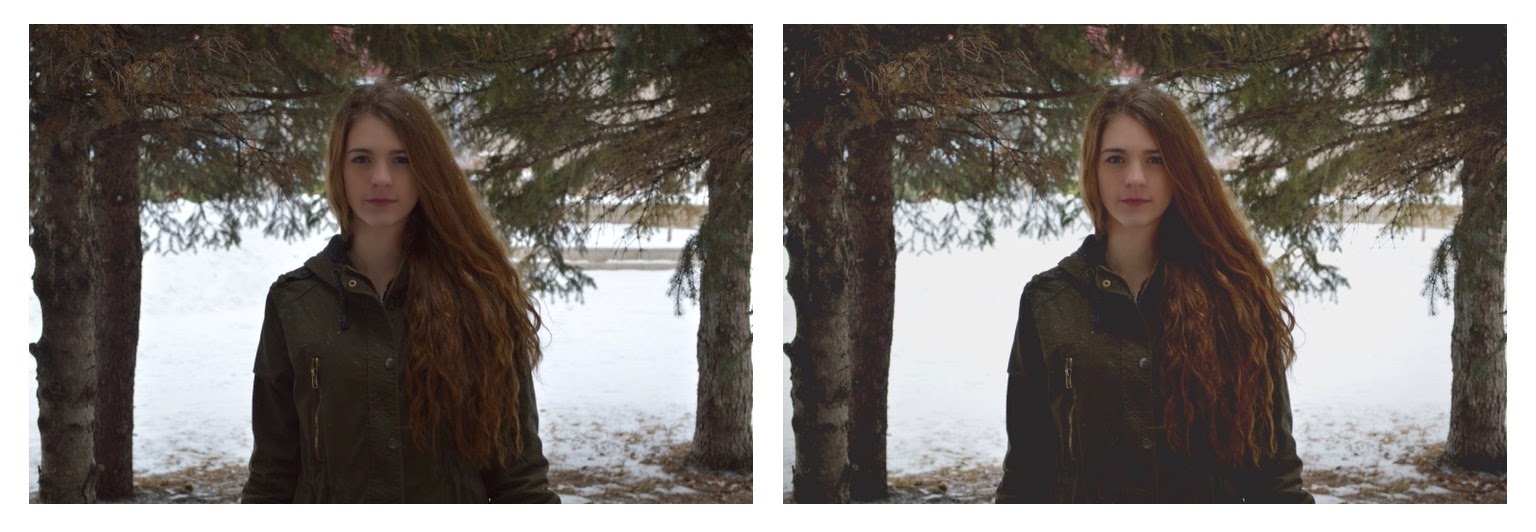
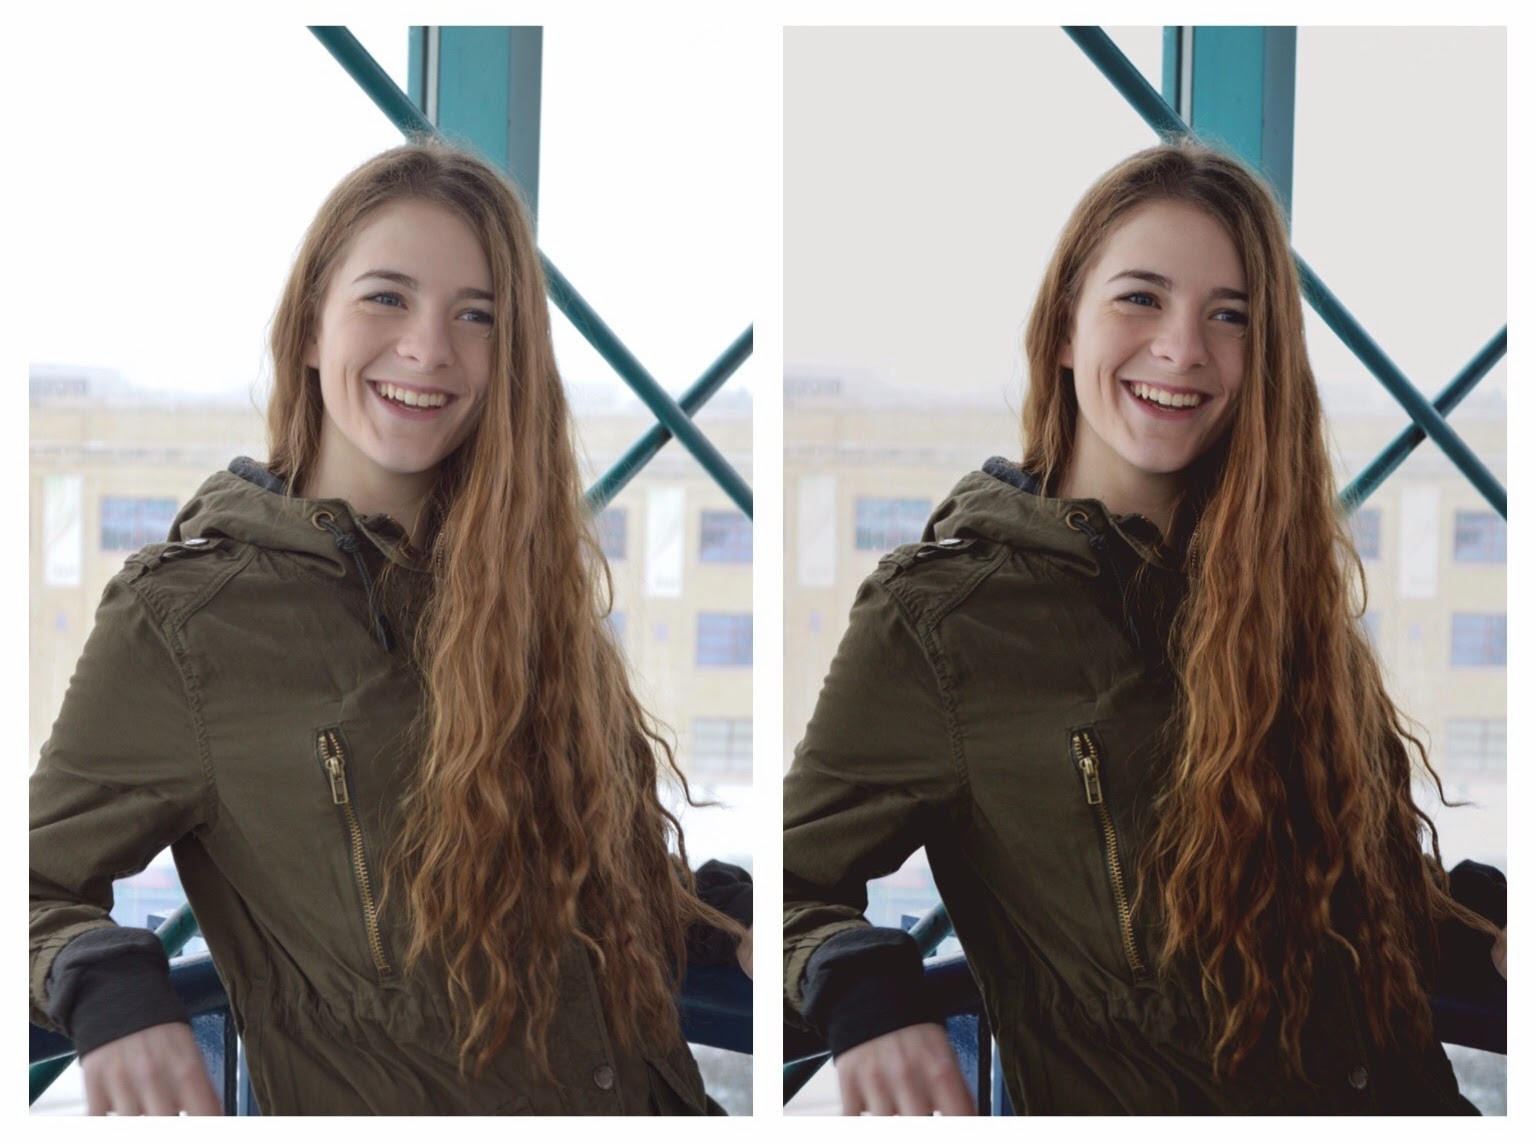
This years passion project I enjoyed doing quite a lot. Learning how to use photoshop was really fun and was really intersting for me. Being able to learn how to accomplish different techniques on photoshop that I have always been curious how to do was awesome for me, and I know that even though this project is over, I am still going to continue to do it. I have learned that taking pictures and taking the time to edit things is something I really enjoy doing. I loved being able to take portraits of people and having them love the finished product. It was a really good feeling, and I loved being able to share my pictures with other people.
My plans for this project had been originally to learn how to use photoshop, and to continue my project from last year by taking different types of photography. By the end of this project I feel like I did my plan quite successfully. One thing I didn't do was take different styles of photography... all my pictures ended up being portraits. Personally I am not disappointed by this because I really do love taking portraits and I am really happy how they all turned out. I learned a lot on photoshop, and I got the opportunity to get out and take some more pictures of my friends and my sister and I had a lot of fun doing that. My final goal was to have 15 edited pictures by the end of the semester. I only ended up having 8, but I am not bothered by the fact that I did not get 15 because I really accomplished the original goal by learning a lot on photoshop, so I am really proud how my project ended.
So applying my passion project to bible class is quite easy with the biblical through lines! This year I chose 3 through lines. My first one was beauty creating. Beauty creating is referring to the fact that God is the creator who has made everything, and while we are creating something we are reflecting on him. When I edit pictures I am enhancing the photo to look even better. I think when I'm doing this it makes Gods work look even better. It is eye opening to me to see the things that God created and that I created and be happy with both. My other through line was creation enjoying. This through line is one of the most easiest through lines for my passion project. God has created everything so beautifully and wants us to enjoy it. For my project I am constantly doing this. When I take pictures of natures, or portraits or even my sister playing sports I can reflect on everything God has made, and it's amazing for me to be able see all that he has created. The last through line I chose was community building. This project I got to work with a lot of different people and I had so much fun doing it! I got to know Felicity, who really helped me in this project with learning all about photoshop, and I got to work with Taylor a lot when we went on photo shoots together and I got to hangout with Miranda lot because as you can see when you look through my blog, she was my main model for this project. God has made us so that we are to be able to help each other and live in community together and I really felt like I was able to accomplish this in this project.
For this project I used Felicity as my mentor. Felicity was the obvious choice for me because she was posting pictures on Instagram and flickr of edits that I really wanted to learn how to do. We ended up having a lot of fun together and I learned a lot from her. So a big shout out to Felicity, thank you su much for all your help in this project! My other main resource was youtube and blog posts similar to my own. I used a lot of self discovery in this project and enjoyed doing. Check out my resource page for all the sites I used throughout this project! Also you should check out my mentors blog, she has some great stuff! My Mentors Bog
So this is the end to my project! I hope that by looking through my blog posts you could learn something about photography through my learning experiences. Thanks for reading!
Also if you are interested in seeing more of my pictures, check out my flickr account! My flickr AccountI'm hoping to get more viewers, commenters and likes on flickr as I started sharing more of my work.


