Pages

Showing posts with label Curves. Show all posts

Saturday, January 17, 2015

Film Effect Using Curves

Recently I had the chance of going on another photo shoot to get some pictures for my passion project. I went with my friends Taylor Vaags, Miranda Vlaming (the two girls I used in my last shoot)  and Felicity Pollard, who I have mentioned before in my blog. Having Felicity come along which was really nice because she was very helpful, and gave a few key points while we took pictures. Unfortunately the day was not as successful as we had planned... It was very cold and we were all very miserable. I only ended up getting few good pictures, which was a little disappointing. But thankfully, with the few pictures I got, I was able to learn many different things on photoshop which I am very excited about! So taking pictures in the cold ended up being worth it :)

One thing that I have really wanted to learn how to do on photoshop was trying to make my pictures have this cool effect that a lot of pictures that I have seen, seem to have. I was not sure what the exact type of editing it was, so I talked to Felicity because a lot of her pictures had the look I was wanting. She told me that the look is called the Film Effect. It is a very common type of edit now a days, and you get this kind of edit  by using curves on photoshop. 

I tried looking at different youtube tutorials, but I could not find one that really helped me understand how to get the right effect. I was looking at tutorials that were talking about a matte effect that had a similar look to the film effect, but I was not satisfied how my pictures looked after trying the different things the tutorials suggested to do on photoshop. I used a picture that I took of my sister back in the fall to try to experiment with curves. I had different trial runs, and was not really happy with any of them. 

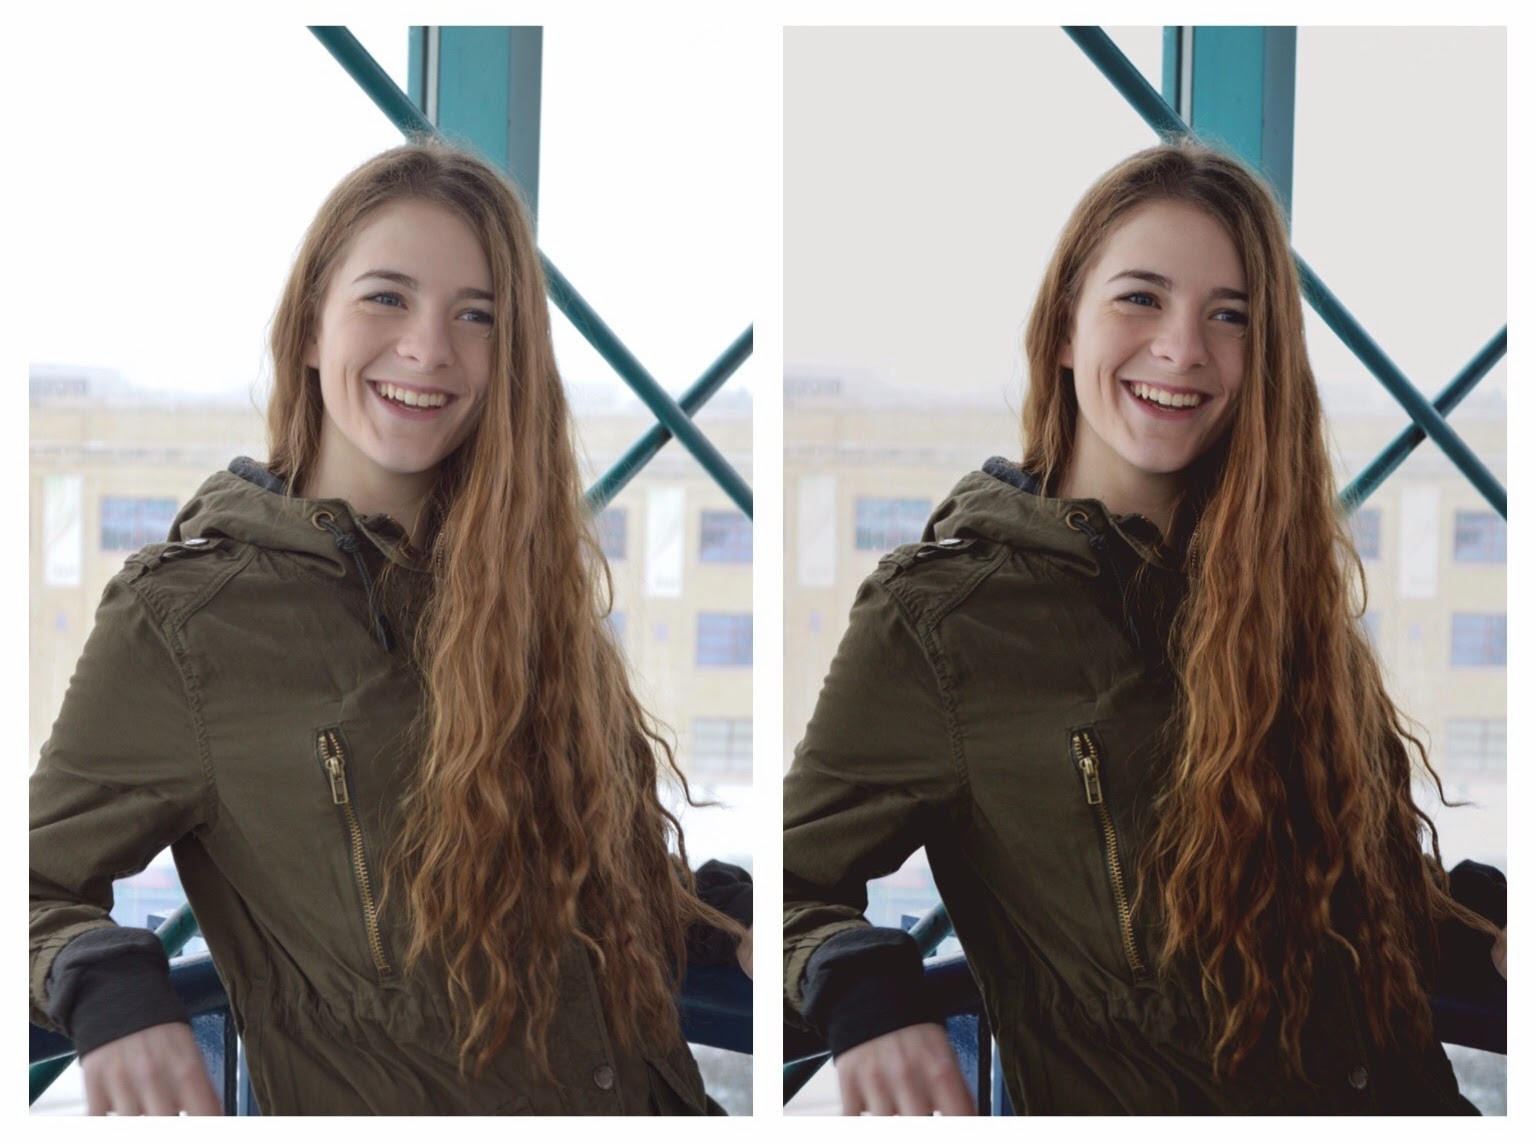
Since I was having no luck with finding film effect tutorials on youtube, I thought I would try to search it up on my pinterest. I often use pinterest for photo inspiration, ideas, or I use the photoshop tutorials I find on it. Pinterest has many photos that I love, and that have the exact look I was looking for, so I thought I'd give it a try. I was very successful when I did this! After looking through different Pinterest posts on film effects, I found one that explained how to do it very clearly! From that post I successfully edited my first film effect edit. (Check out pictures at the end of this blog post) 

This is how I managed to get the film effect. You open up curves on photoshop, and you need to do these two key things to get this certain look.
Step One: The left bottom corner you need to take the curves line and move it up. This increases the brightness in the dark areas of the picture.

Step Two: Move it to the right which reduces the detail in the picture.

Something that was also suggested to do on the blog post that I used, was yo take the top right corner curve line and move it down and move it to the left to "crush the white", as said in the blog.


Another thing that I found to make the picture pop more is to take the middle of the curve line and pull it up. This boosts the contrast of the picture, giving it a brighter look. 

I was really excited when I figured this out! Not only had I finally got the look I was looking for, but it was also super easy! 

I tried doing it on different pictures and loved the results. As I practiced more with curves, I ended up really enjoying using it and feel more confident when I use it that I know what I am doing which I am very excited about. 

One another thing I found out is to get more of a film effect you should make more curve layers. This will put a new curve layer on top of another layer and gives your picture a even cooler look. 

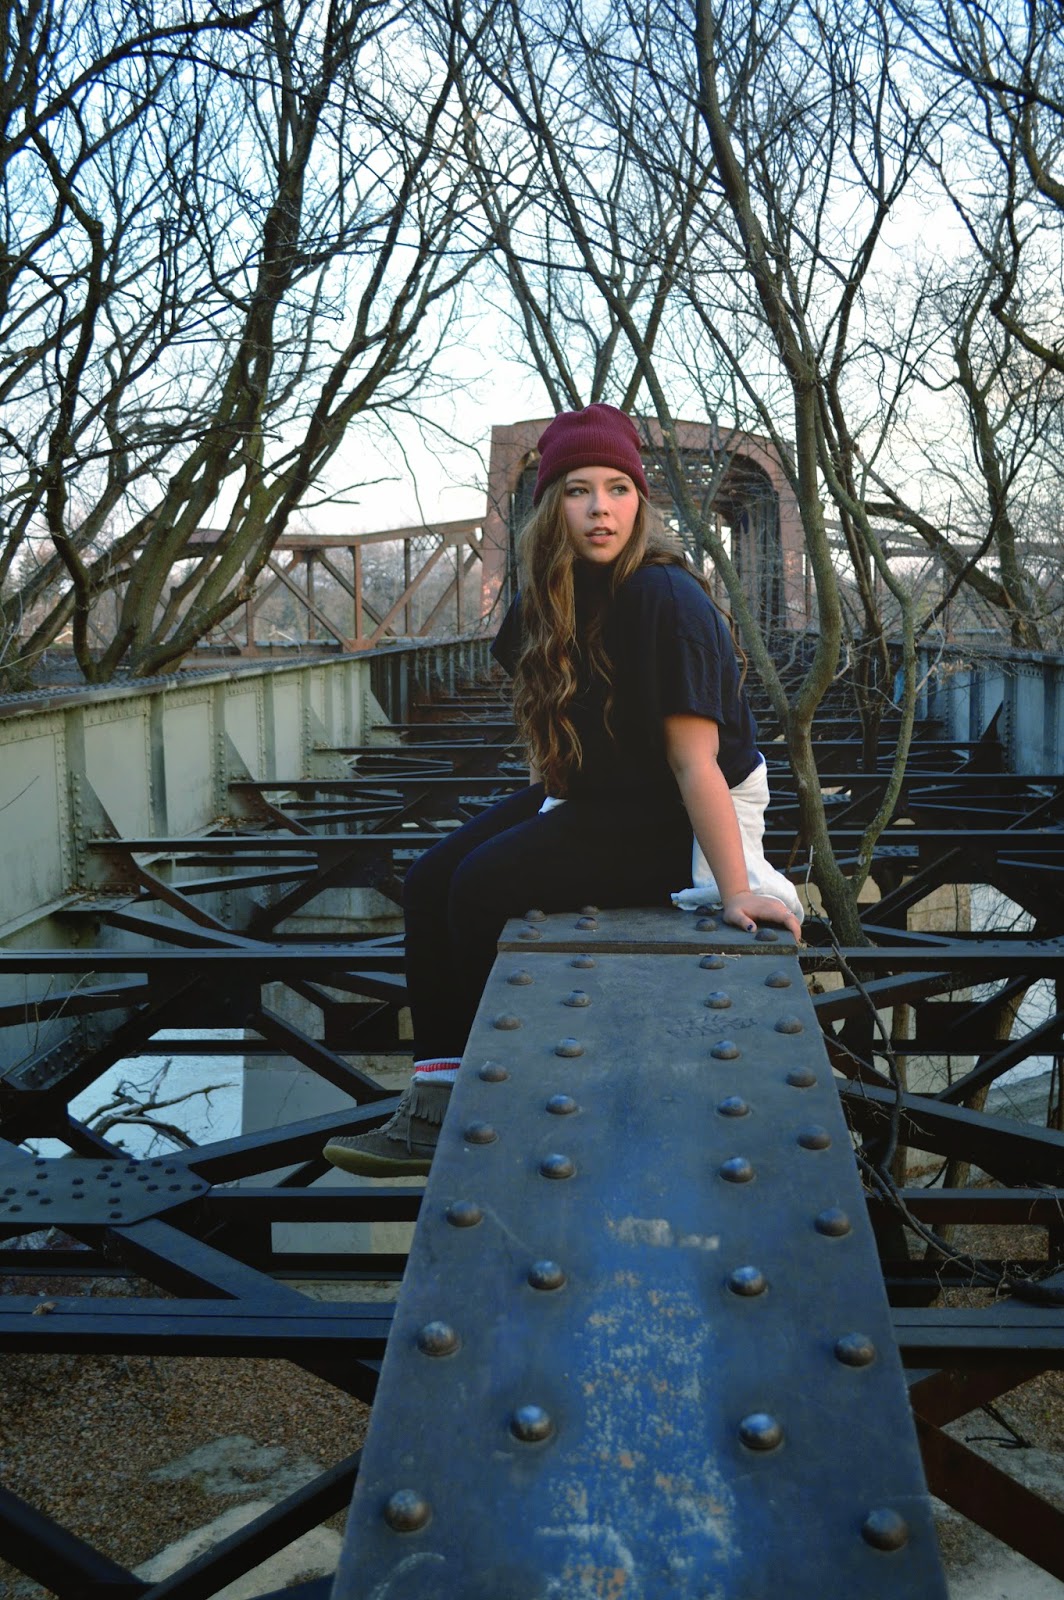
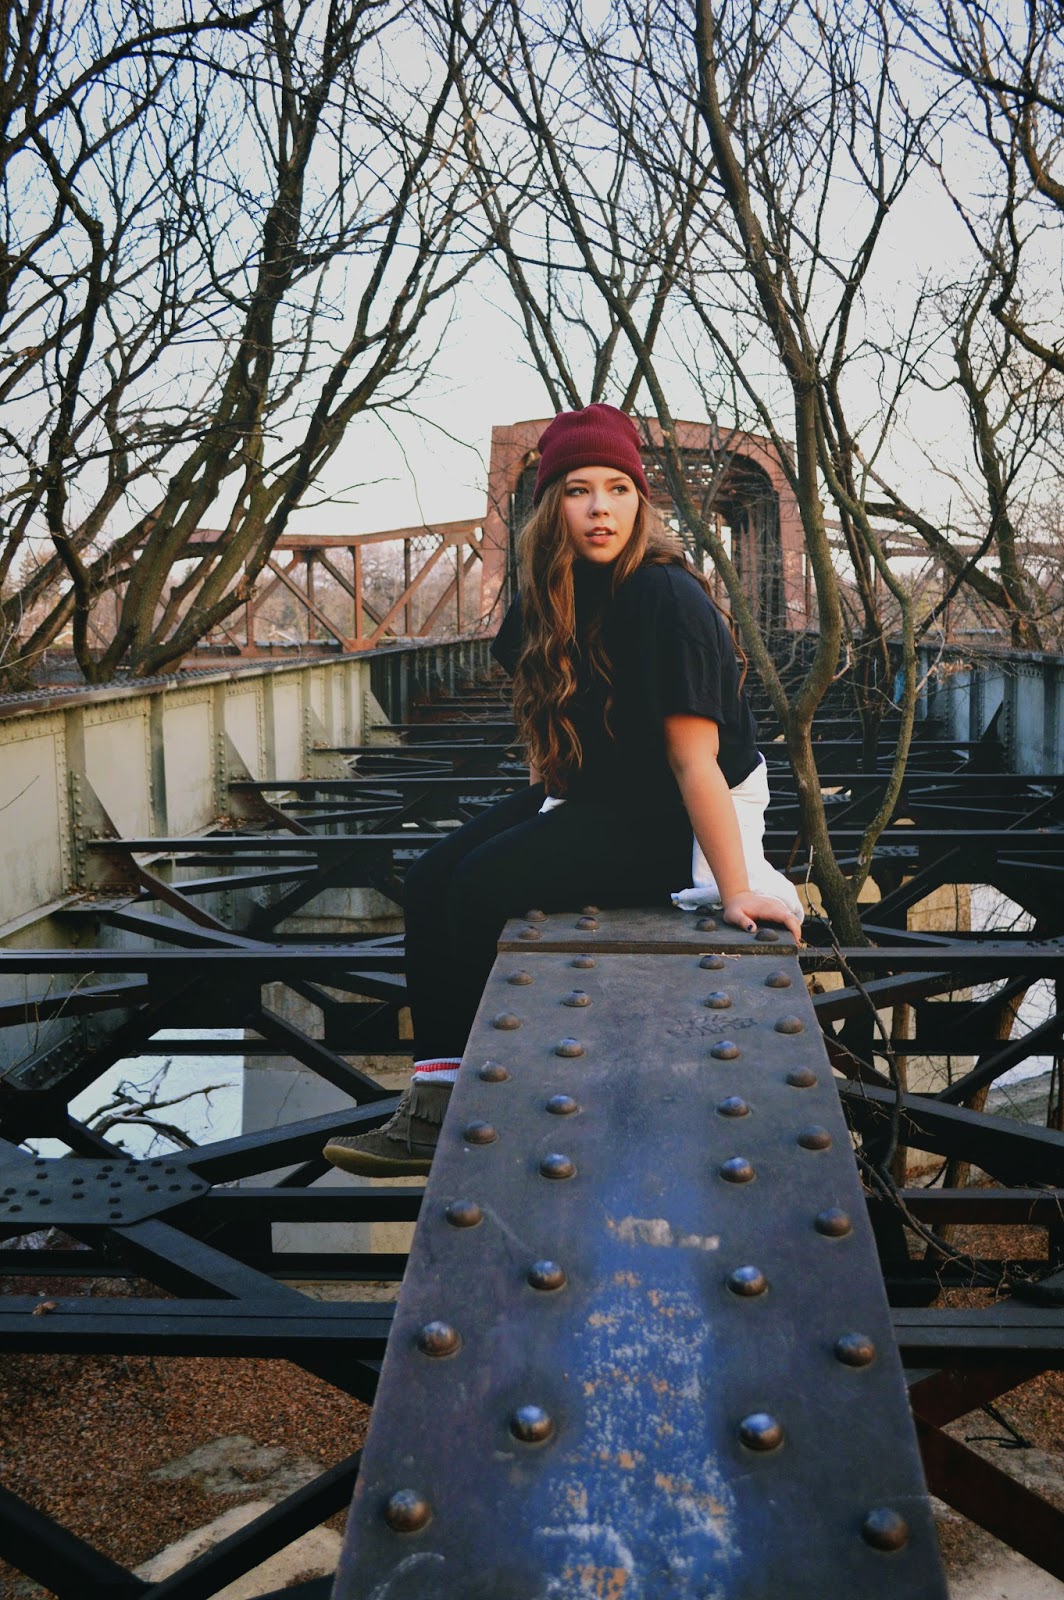
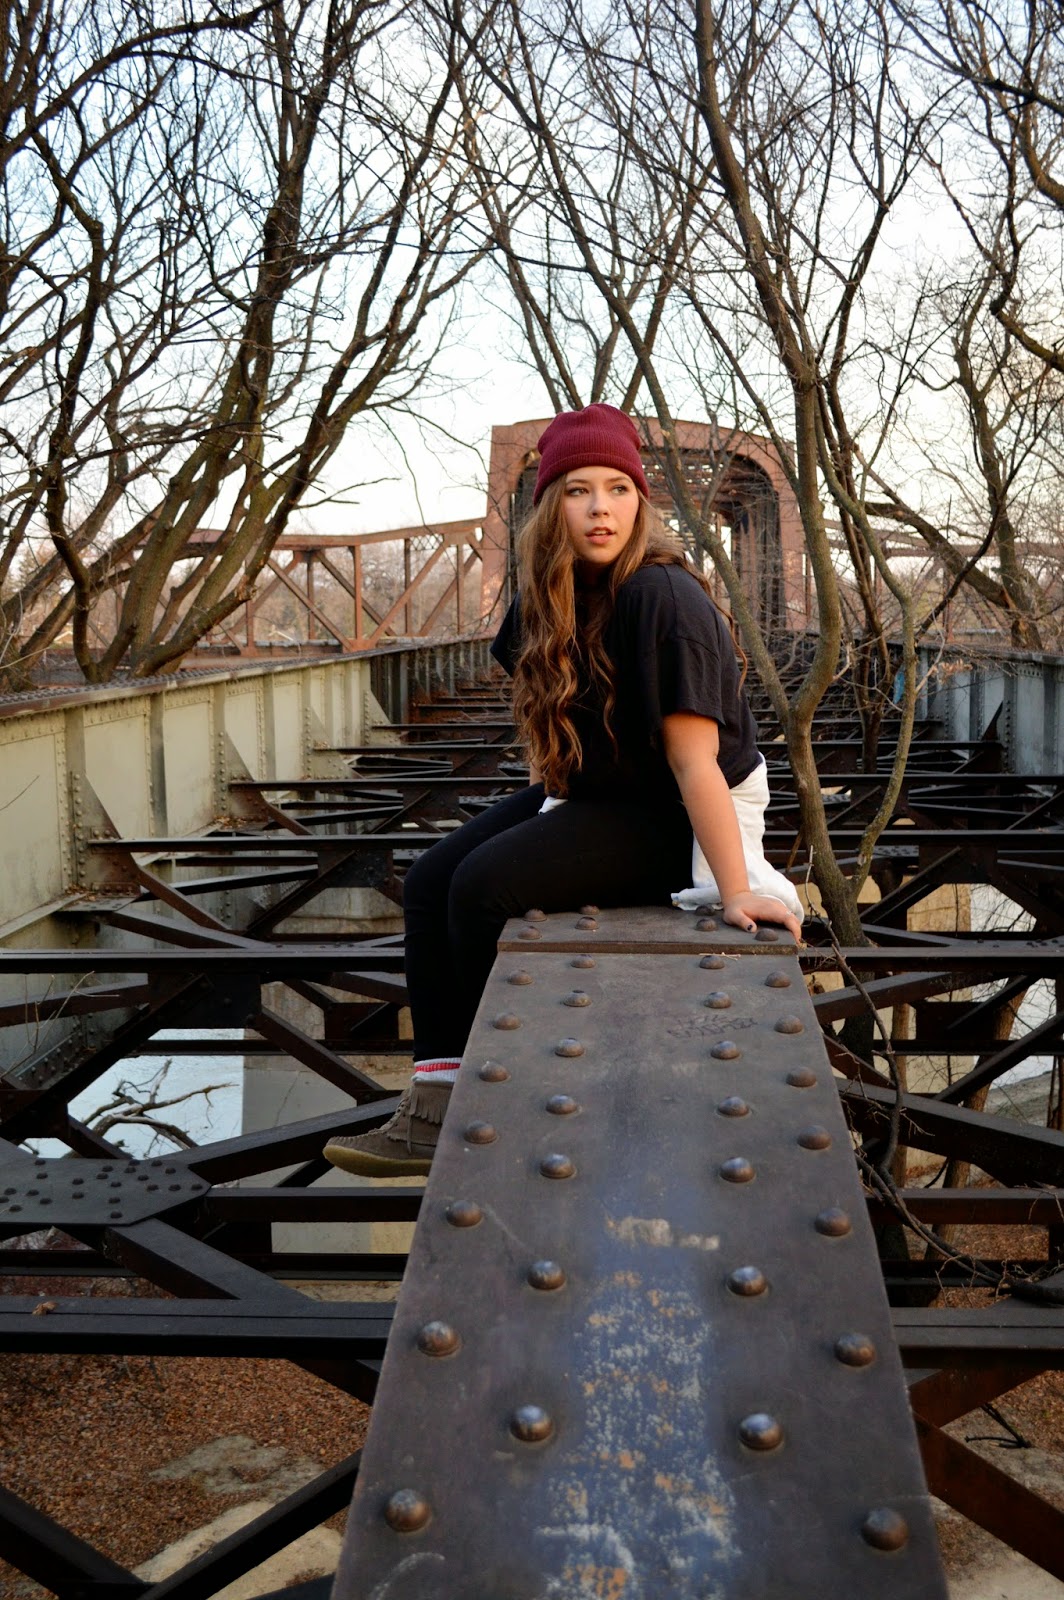
Here are the before and after of my film effect pictures:
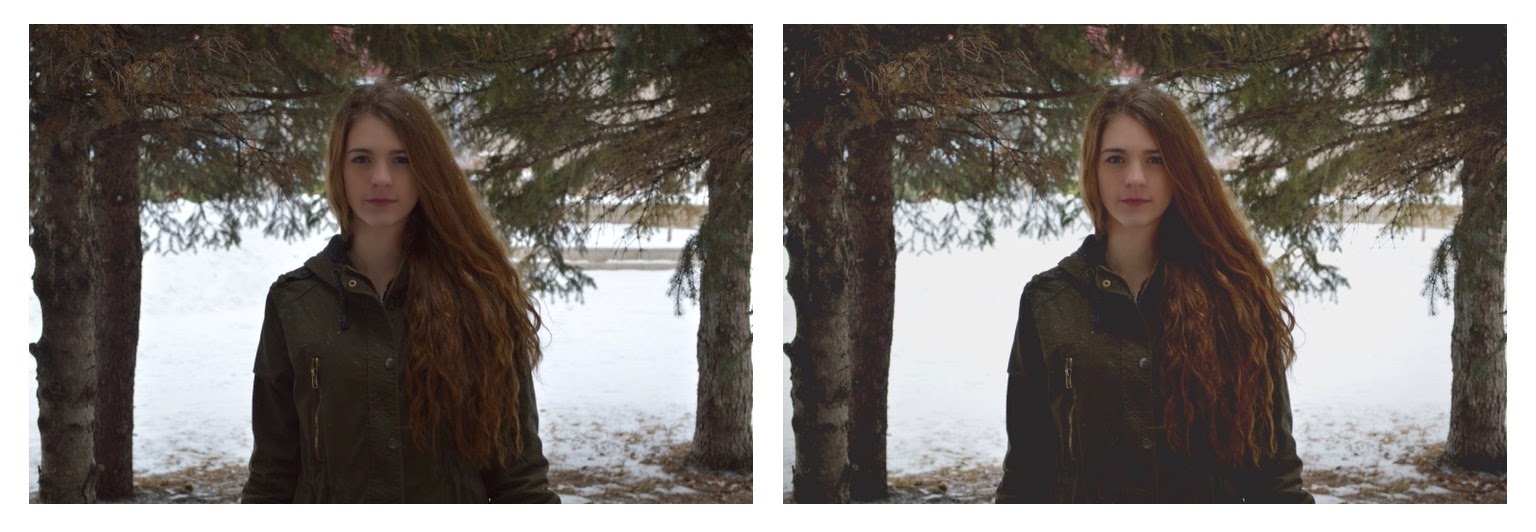


This is the link to the blog that helped me learn about the film effect: Film Effect


Monday, December 29, 2014

Curves

While learning more about photoshop, I found a lot of tutorials talk about using a tool called curves. So I decided to take the time to learn more about it. Curves allows you to change the contrast, brightness and exposure all at once, instead of using each of the tools I used in my last photo. Curves is supposedly better to use, because you have more control over the settings. I have not mastered curves completely, but here is all that I learned about curves and another finished product that I am going to share.


Curves tool bar 

Now at first if you look at the curves tool and do not know anything about it, it looks extremely confusing. It is still a bit confusing to me,  but after watching tutorials and reading about it, it makes a bit more sense.

So the main point of curves, is that it gives you the ability to control the light and dark colours in your image.


Channel option, where you choose what colours
you want to change 
In the top left hand corner of the curves tool there is the option called channel. If you look at the above diagram,  you can see the channel bar. It currently says its at RGB. This means that you are controlling the red, green and blue colours in your image all at once. If you click on the arrows on the channel bar, you can also choose other options that are called RedGreen and Blue. These options just mean that you are controlling specifically the red, green or blue in your image.


The line running through the centre of this box is what
you are using.
To actually control the light and darkness in your image you use the line that is running diagonally across the box that is located in the centre of the curves tool. These are the helpful tips that I have learned on how to use curves:
- When you take your mouse and grab any part of the line and you move the line from left to right, you move the the light in the picture
- The top right corner of the box is the lightest part in the image. If you took the line and pulled it down it would make your image darker. If you pulled it to the left it would make the image brighter.
- The bottom left corner of the box is the darkest part  in the image. If you took the line and pulled it upwards it would make the image lighter. If you took the  line and moved it to the right it would make the image darker.


The thing I found frustrating with curves is that there isn't a certain type of instructions to follow when using it. Every picture is different so the levels of colours varies in every image. So you kind of have to wing it and trust your judgement on what looks good on you picture when changing things with the curves tool. Right now, I am finding that I would prefer to use the tools I used in my last blog post compared to this curves tool. But I'm sure with the more I use the curves tool, the more comfortable I will feel with it.

I played around with the curves tool and got many different results:
Curves Trial #1

Curves Trial #1: This picture I hate a lot... I don't really know why I thought it looked good. I think one night I was editing it, and must of been super tired or something and for some reason thought the edit looked good. Then the next morning I saw how awful it looked and knew that I was not done with this picture.


Curves Trial #2


Curves Trial #2: This one was a lot better from the first. I liked it, but I wanted a bit more of a dramatic change. Also I played to much with the red in the picture. If you look at my friend Taylor's face in the picture you can see that it is really red and pinkish and I did not like that. 
Curves Trial #3


Curves Trial #3: This one I liked a lot, but I wanted the photo to still look more darker, and the contrast to be better. I used the gradient effect on it to give the picture a faded look which I liked. I decided to work with this picture a bit more, just to see if I could do anything better with the curves tool.


Curves Trial #4


Curves Trial #4: This one I am pretty happy with. I played more with the blue curves option, changing the red and green curves options along the way so that the picture didn't look super blue. The picture has a more dramatic feel to it which I am quite happy about. I think this picture is going to be another successful finished product.


Before and After Shots: 


Here is also another thing I learned while creating this blog post - How to change a PSD file to a JPEG. You should learn how to do this because the photoshop file is WAY to big. Blogger cannot even upload a photoshop file because it is so large.
Step 1: Go to file and select the Save As option 
Step 2: A save as bar is going to open up. On the format option hit the arrows and select the JPEG option. Then hit save.
Step 3: A JPEG Options bar will pop up. This allows you to change sizes of you JPEG. I didn't change anything when this popped up because I want the picture to stay the same quality that it originally was in photoshop. And that is all you have to do when taking a photoshop file and changing it into a JPEG! 

Here are the links to tutorials that really helped me: