One thing that I have really wanted to learn how to do on photoshop was trying to make my pictures have this cool effect that a lot of pictures that I have seen, seem to have. I was not sure what the exact type of editing it was, so I talked to Felicity because a lot of her pictures had the look I was wanting. She told me that the look is called the Film Effect. It is a very common type of edit now a days, and you get this kind of edit by using curves on photoshop.

I tried looking at different youtube tutorials, but I could not find one that really helped me understand how to get the right effect. I was looking at tutorials that were talking about a matte effect that had a similar look to the film effect, but I was not satisfied how my pictures looked after trying the different things the tutorials suggested to do on photoshop. I used a picture that I took of my sister back in the fall to try to experiment with curves. I had different trial runs, and was not really happy with any of them.

Since I was having no luck with finding film effect tutorials on youtube, I thought I would try to search it up on my pinterest. I often use pinterest for photo inspiration, ideas, or I use the photoshop tutorials I find on it. Pinterest has many photos that I love, and that have the exact look I was looking for, so I thought I'd give it a try. I was very successful when I did this! After looking through different Pinterest posts on film effects, I found one that explained how to do it very clearly! From that post I successfully edited my first film effect edit. (Check out pictures at the end of this blog post)
This is how I managed to get the film effect. You open up curves on photoshop, and you need to do these two key things to get this certain look.

Step Two: Move it to the right which reduces the detail in the picture.
Something that was also suggested to do on the blog post that I used, was yo take the top right corner curve line and move it down and move it to the left to "crush the white", as said in the blog.

Another thing that I found to make the picture pop more is to take the middle of the curve line and pull it up. This boosts the contrast of the picture, giving it a brighter look.
I was really excited when I figured this out! Not only had I finally got the look I was looking for, but it was also super easy!
I tried doing it on different pictures and loved the results. As I practiced more with curves, I ended up really enjoying using it and feel more confident when I use it that I know what I am doing which I am very excited about.
One another thing I found out is to get more of a film effect you should make more curve layers. This will put a new curve layer on top of another layer and gives your picture a even cooler look.
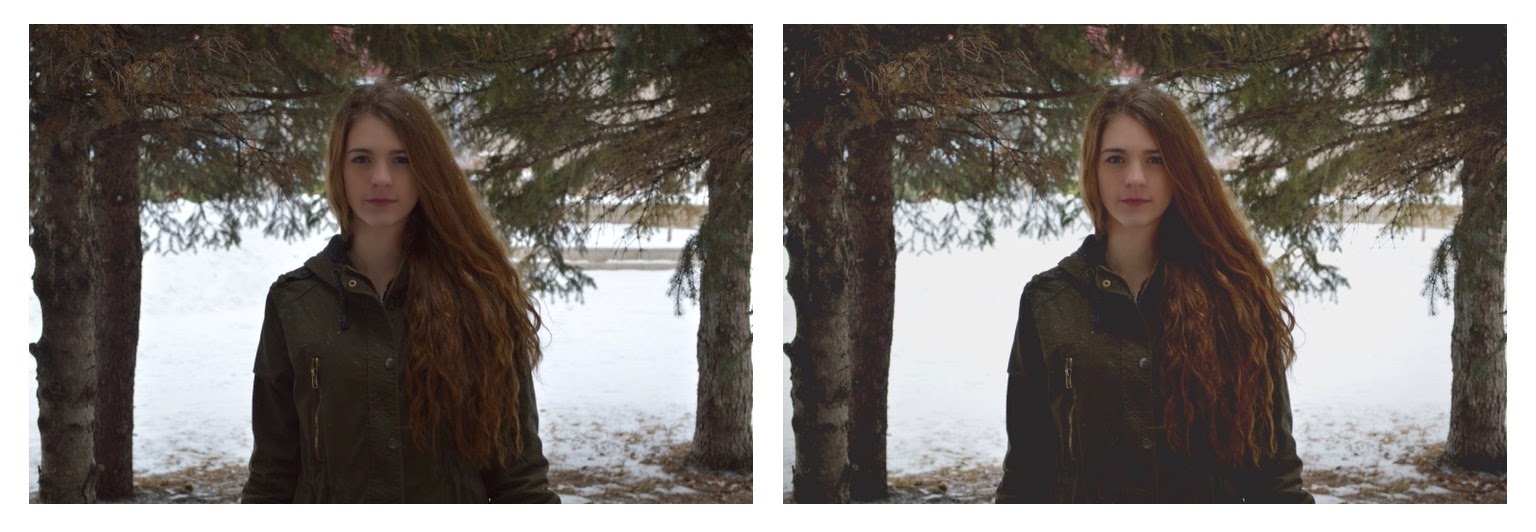
Here are the before and after of my film effect pictures:


This is the link to the blog that helped me learn about the film effect: Film Effect
This is the link to the blog that helped me learn about the film effect: Film Effect
No comments:
Post a Comment